Pantry and Pantry: How to Plan Two Storage Spaces for Your New Home
When you think about your new home's storage, the pantry and pantry might seem like an afterthought. But having two dedicated spaces for food and supplies can transform your kitchen workflow and keep your family organized. Whether you're building from scratch or renovating a first home, planning a primary walk-in pantry plus a secondary backup pantry gives you room to stock up without clutter. In this guide, we'll walk through layout ideas, budget ranges, and organization tips for both pantries so you can make smart decisions before move-in.
Why Two Pantry Spaces Make Sense
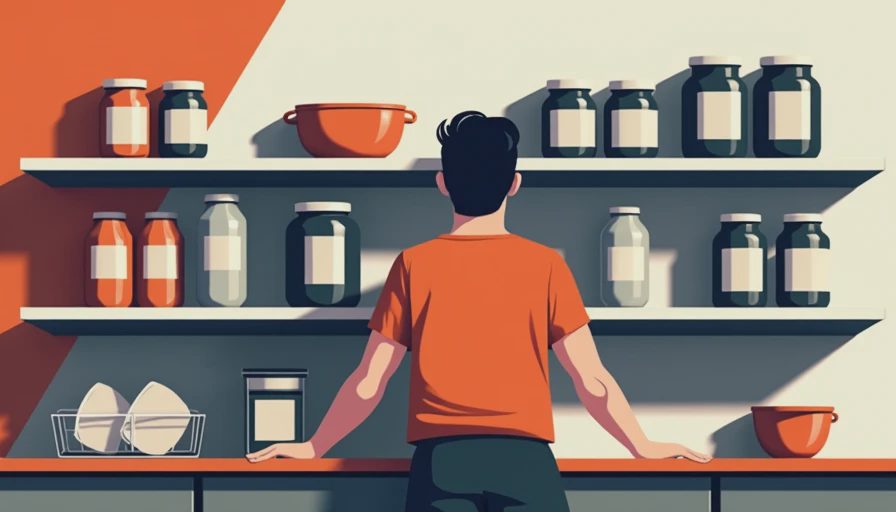
A single pantry often gets overloaded with everyday items plus bulk buys. Separating them into a daily-use pantry (usually off the kitchen) and an overflow pantry (in a mudroom, garage, or deep cabinet) prevents chaos. The daily pantry holds your go-to ingredients: canned goods, spices, snacks. The overflow stores paper towels, extra pasta, holiday platters, and small appliances. This setup keeps the kitchen streamlined and makes meal prep faster. For families with young kids, it also means less clutter at eye level where little hands can grab things.
Designing Your Walk-In Pantry
If you have space, a walk-in pantry is the dream. Aim for at least 4 feet by 5 feet to allow room for shelving on two or three walls. Use adjustable shelving so you can customize heights for cereal boxes, tall bottles, and stacked cans. Wire shelving is budget-friendly (around $50–$80 per section) and easy to install. For a cleaner look, go with melamine or wood shelving, which runs $100–$200 per linear foot. Add a simple overhead light with a motion sensor — no need for expensive fixtures. A small plug-in LED strip under the top shelf costs under $30 and makes labels visible.
Your Secondary Pantry: Where and How
Not every home has room for two walk-ins. Consider a large pull-out cabinet or a closet in the hallway near the kitchen. A typical 36-inch base cabinet with pull-out shelves costs $400–$700 installed. For even more space, turn a garage corner into a shelving unit with heavy-duty storage racks (about $150–$300). Just make sure the area stays cool and dry — avoid spots near the water heater or furnace. The secondary pantry should be deep enough for bulk items: 18-inch shelves work well for stacking paper towel rolls and cases of soda.
Budgeting for Both Pantry and Pantry
You can create a pantry and pantry system for under $1,000 if you DIY. A walk-in pantry with basic wire shelving and a light costs around $500. A secondary cabinet pantry adds $400–$600. If you hire a contractor for full custom built-ins, budget $1,500–$3,000 per space. Remember to include costs for containers, labels, and bins — these add up to $100–$200 for both pantries. Don't skimp on sturdy bins; cheap plastic cracks after a season. Go with clear, stackable bins (like the 11-quart Sterilite or 20-quart Iris) that resist moisture.
Organizing Two Pantries for Daily Use
Keep the daily pantry organized by zones: one shelf for breakfast items, one for canned goods, one for snacks. Use the secondary pantry for deep storage and rotation. Label everything with a simple label maker ($20–$40) or chalk labels. Store the overflow pantry by category: paper goods, cleaning supplies, party supplies, backup pantry staples. Rotate stock so older items move to the daily pantry first. This system saves money because you'll know exactly what you have and avoid buying duplicates.

Common Mistakes to Avoid
Don't forget to measure door openings — a standard 24-inch wide door is too narrow for a walk-in pantry if you want deep shelving. Aim for a 36-inch door. Avoid deep shelves (over 18 inches) in the overflow pantry; you lose items in the back. Over-lighting can make the daily pantry feel clinical; a warm light bulb (2700K–3000K) feels cozy. Never store cleaning products above food in any pantry; use lower shelves or a separate caddy. Lastly, don't skip ventilation in a garage pantry — a simple dehumidifier ($50) prevents mold on cardboard boxes.
Seasonal Stocking Tips for Your Pantry and Pantry
To get the most out of your pantry and pantry system, think in seasons. In fall, stock up on canned pumpkin, broth, and baking supplies. Use your secondary pantry to hold extra bags of flour, sugar, and chocolate chips. In winter, fill the daily pantry with hearty soups, oats, and teas. The overflow can store paper goods and emergency supplies like batteries. Spring is ideal for lighter items: canned fruits, salad dressings, and grilling sauces. Rotate your stock each season by bringing older items to the front. This method prevents food from expiring and keeps both pantries organized without much effort. A simple inventory list on your phone helps track what's in each pantry and pantry space. You can also use clear bins labeled by season (Fall, Winter, Spring, Summer) in the overflow pantry. This way, when you're planning a holiday meal or a summer cookout, you know exactly where to find those seasonal ingredients. Even a small secondary pantry can hold three or four seasonal bins without clutter. Buying a case of tomato sauce in summer when it's on sale can save you $15–20 compared to buying individual cans all year. Your overflow pantry makes that bulk purchase possible. Similarly, stock up on paper towels and napkins during back-to-school sales. By planning purchases around seasonal discounts, your pantry and pantry system pays for itself over time. Try this system for one year, and you'll wonder how you managed with just a single pantry.
With a little planning, your pantry and pantry setup will work hard for your family every day. Start with a rough layout and budget, then adjust based on your home's existing footprint. The payoff is a kitchen that stays organized, less food waste, and fewer mid-week trips to the store.




No comments yet — be the first to share a thought.